Project Z: The Zombie Scenery Files
Back in late 2015, Warlorder & writer Ricard Fortun asked Warlorder Gabrio if he could help on the Project Z game. Scenery was the order of the day, to be used as a set piece for the photography of the Project Z rule book and general zombie mayhem. An ecstatic Gabrio immediately set off to work!
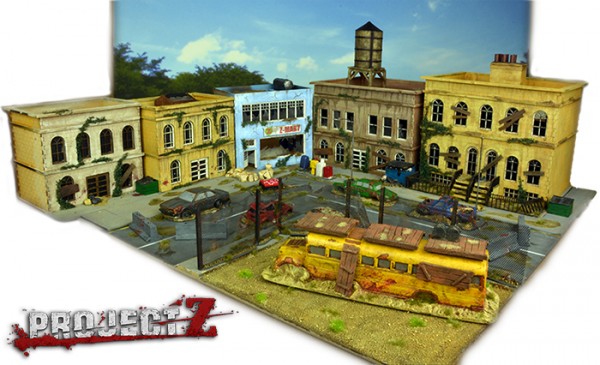
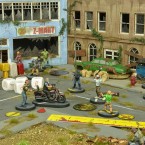
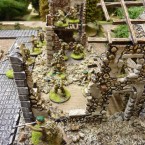
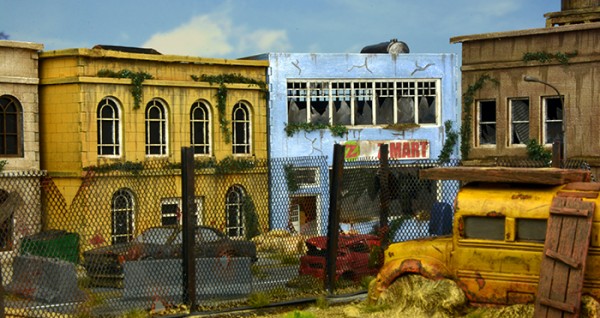
Gabrio: As the initial concept I decided I wanted to reflect a typical high street of a North American town, that had been abandoned and left to decay. Because of its specific use as a mini photo set, the whole piece had to have 2 sides full of buildings (to be used as background) and 2 sides completely empty (from which to take eye level photographs) just like a Hollywood movie set.
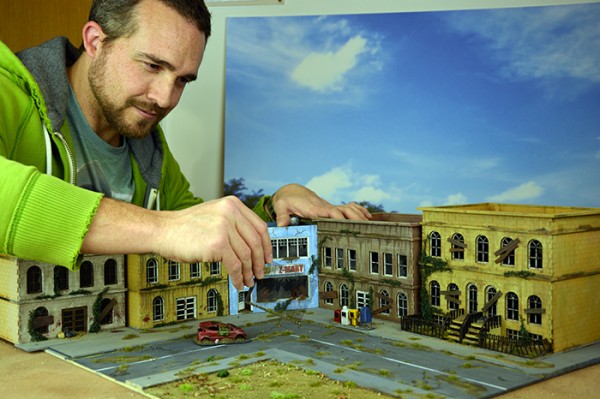 Ricard sets up for the first shots on the film set
I chose Sarissa Precision’s City Block range for the buildings, as they conveyed that New York brownstone feel I was after and various pieces by Ainsty Castings for the street furniture and vehicle wrecks. Where there was no model I made my own using plastic card/rods and pro-create putty or green-stuff.
The Buildings:
For the exteriors, in order to give some variety in the look and feel of the buildings, I have used 2 different finishes, standard spray undercoat on 3 of them and textured spray on 2 of them. The textured spray gives a very nice finish, that can be easily drybrushed giving the building a more textured feel to it. The plain undercoat is also good as it confers a smoother finish to the buildings. I found that a mixture of the 2 styles gave the most realistic look.
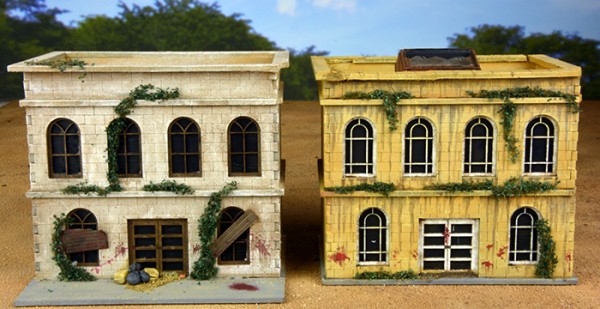
The building on the left was primed with a textured spray paint and the one on the right was primed with Army Painter’s Desert Yellow spray.
I deliberately left the window frames and doors out and sprayed them separately. In other places I used left over blister packs cut to size to simulate broken glass.
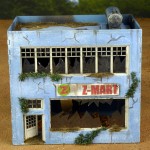
After the basecoat and a light drybrush, I added sand in patches on the roofs and at random points on cornices and on the ground pavement. I then proceeded to wash the buildings with increasingly dense washes (including the broken glass), mostly using Army Painter inks of various tones mixed together, with the last layer being pure ink to represent the rain streaks running down the sides.
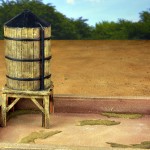
All of the rooftop pieces are from Ainsty castings.
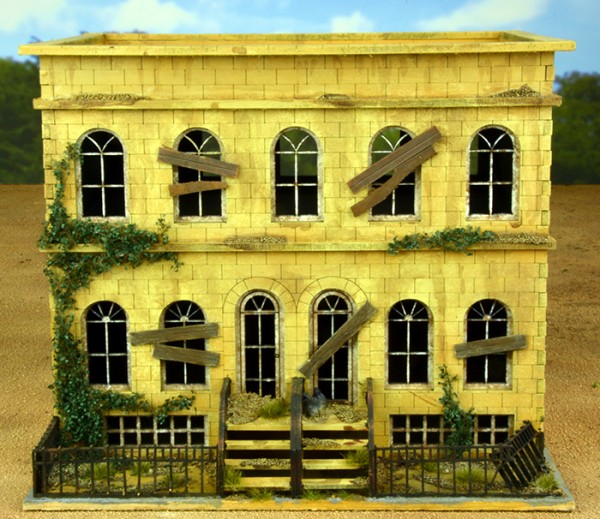
Finally I applied the Army Painter poison ivy to simulate overgrowing vegetation in key areas, and wooden planks on the doors and windows to accentuate the sense of the buildings having been under siege.
The Road
For the road (that also acts as a base for the buildings), I took a large piece of MDF (provided by Sarissa) and simply used the Sarissa sidewalks to delineate the corner of the road. I scored the MDF with a knife to create the cracks and the tears in the road, and I then primed everything with the textured spray paint to give it a tarmac feel. To achieve the same effect, you can also glue down some sandpaper.

The Street furniture:
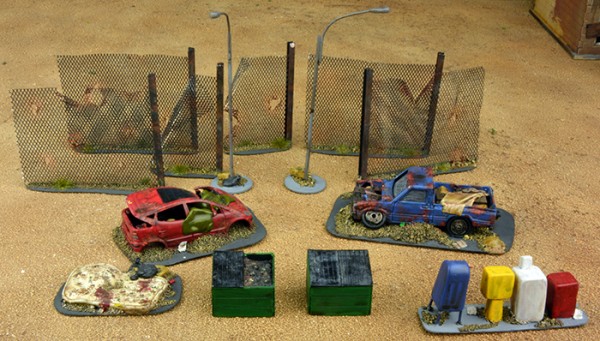
Our friends at Ainsty castings sent us a large variety of great resin models representing wrecked cars, road barriers, roof pieces, a fantastic school bus and many more.
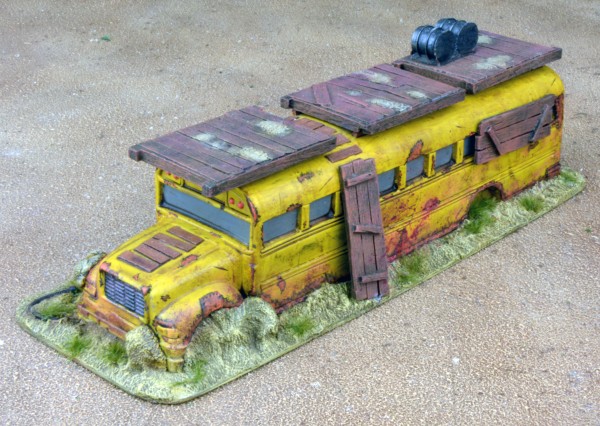
I only had to paint and weather these as they came ready to go!
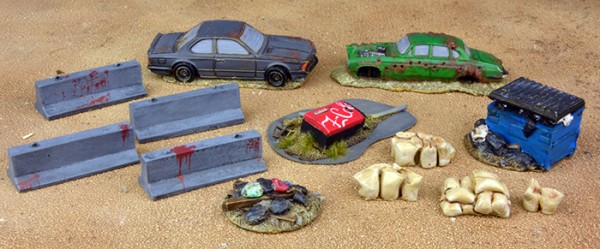
Here are some of the ones I used, however there are many many more on their website! I also made some items on my own to complete the range. For the cars I smashed up a couple of dinki cars from my kids collection (don’t tell them…), the news stand and rubbish bin were made with greenstuff, pro-create and plastic card, and the lamp posts were done using plastic and metal rods and greenstuff. My absolute favourite however is the thrown away mattress. I made this with greenstuff. For the fence, I bought a car bodywork repair mesh (it’s quite cheap!) from a car accessories shop and used H shaped plastic girders for the posts.
Here below, you can see the eye level view of the same set up as showed on the first photo. By framing the shot in a certain way you can easily create the illusion that this is just one small part of a larger town.
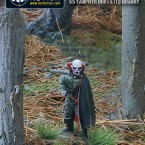
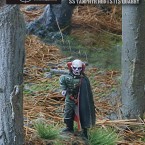
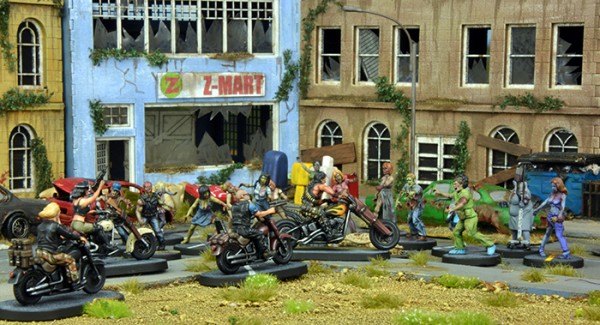 Members of a Biker gang zig zag through a zombie horde, trying not to get eaten.
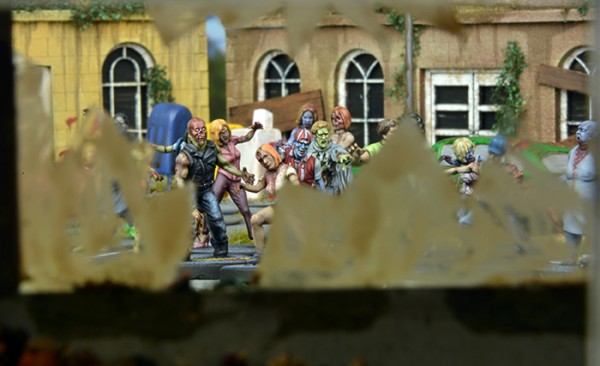
Hiding in the Z-mart won’t help!
In conclusion I want to send a huge thank you to Steve at Sarissa and Andy at Ainsty Casting, who provided us with fantastic scenery for our Project Z game!
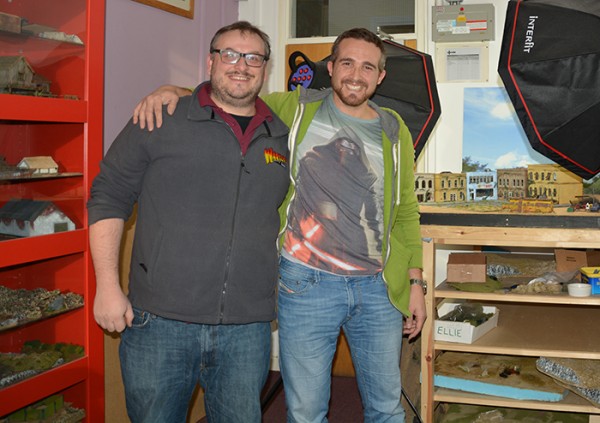 Gabrio & Ricard wrap up the day’s shoot.
Fight the Dead, Fight the Living
Fight to survive in the abandoned streets of a post-apocalyptic world infested by unnatural creatures hungry for your flesh.
Scavenge for scarce supplies whilst battling against the dead and the living alike; there are no laws, there are no rules, only the fight.
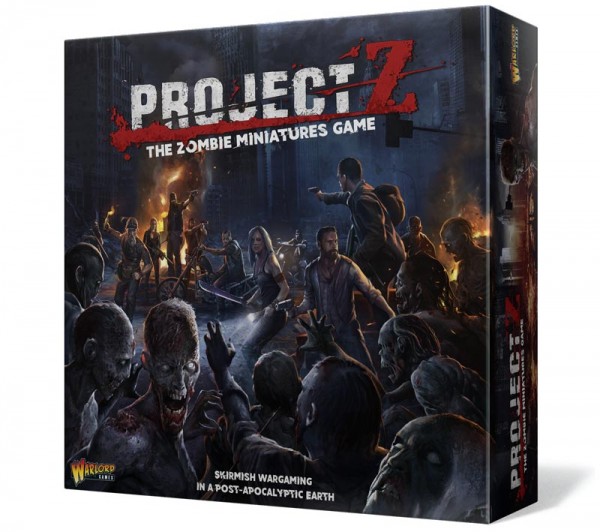
Project Z is a skirmish wargame for 1 to 3 players taking control of Survivors or a Street Gang fighting to survive against the environment and an ever-growing horde of Zombies. Project Z is a fast and easy to learn game containing 39 detailed self-assembly plastic models, rules, counters and specially designed dice and cards.
Pre-order now for shipping early April –
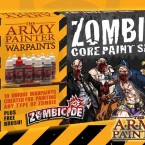
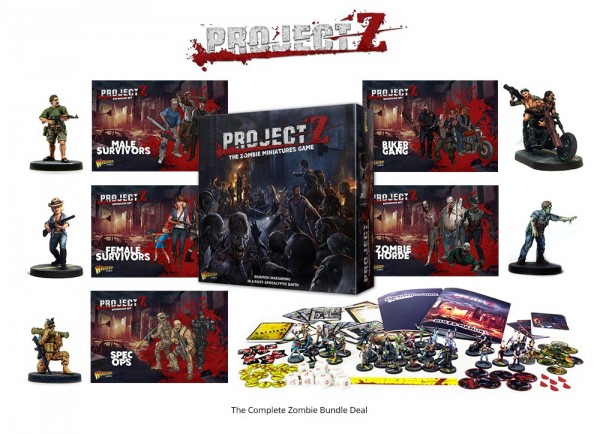
The Complete Zombie bundle deal containing the full Project Z range. Only available to order until the 11th March:
- Project Z – The Zombie Miniatures Game
- Zombie Horde Expansion Set
- Male Survivors Expansion Set
- Biker Gang Expansion Set
- Female Survivors Expansion Set
- Special Operations Team Expansion Set
- Feral Dogs FREE!

For more information please check out this Project Z article and keep an eye on our facebook pages