Hobby Blog: Riveting and Bending Styrene
YOOOOOOOOOO! What’s up, hobby friends? Today I have a special article for you, one might even say it’s riveting…heh heh heh… See what I did there?
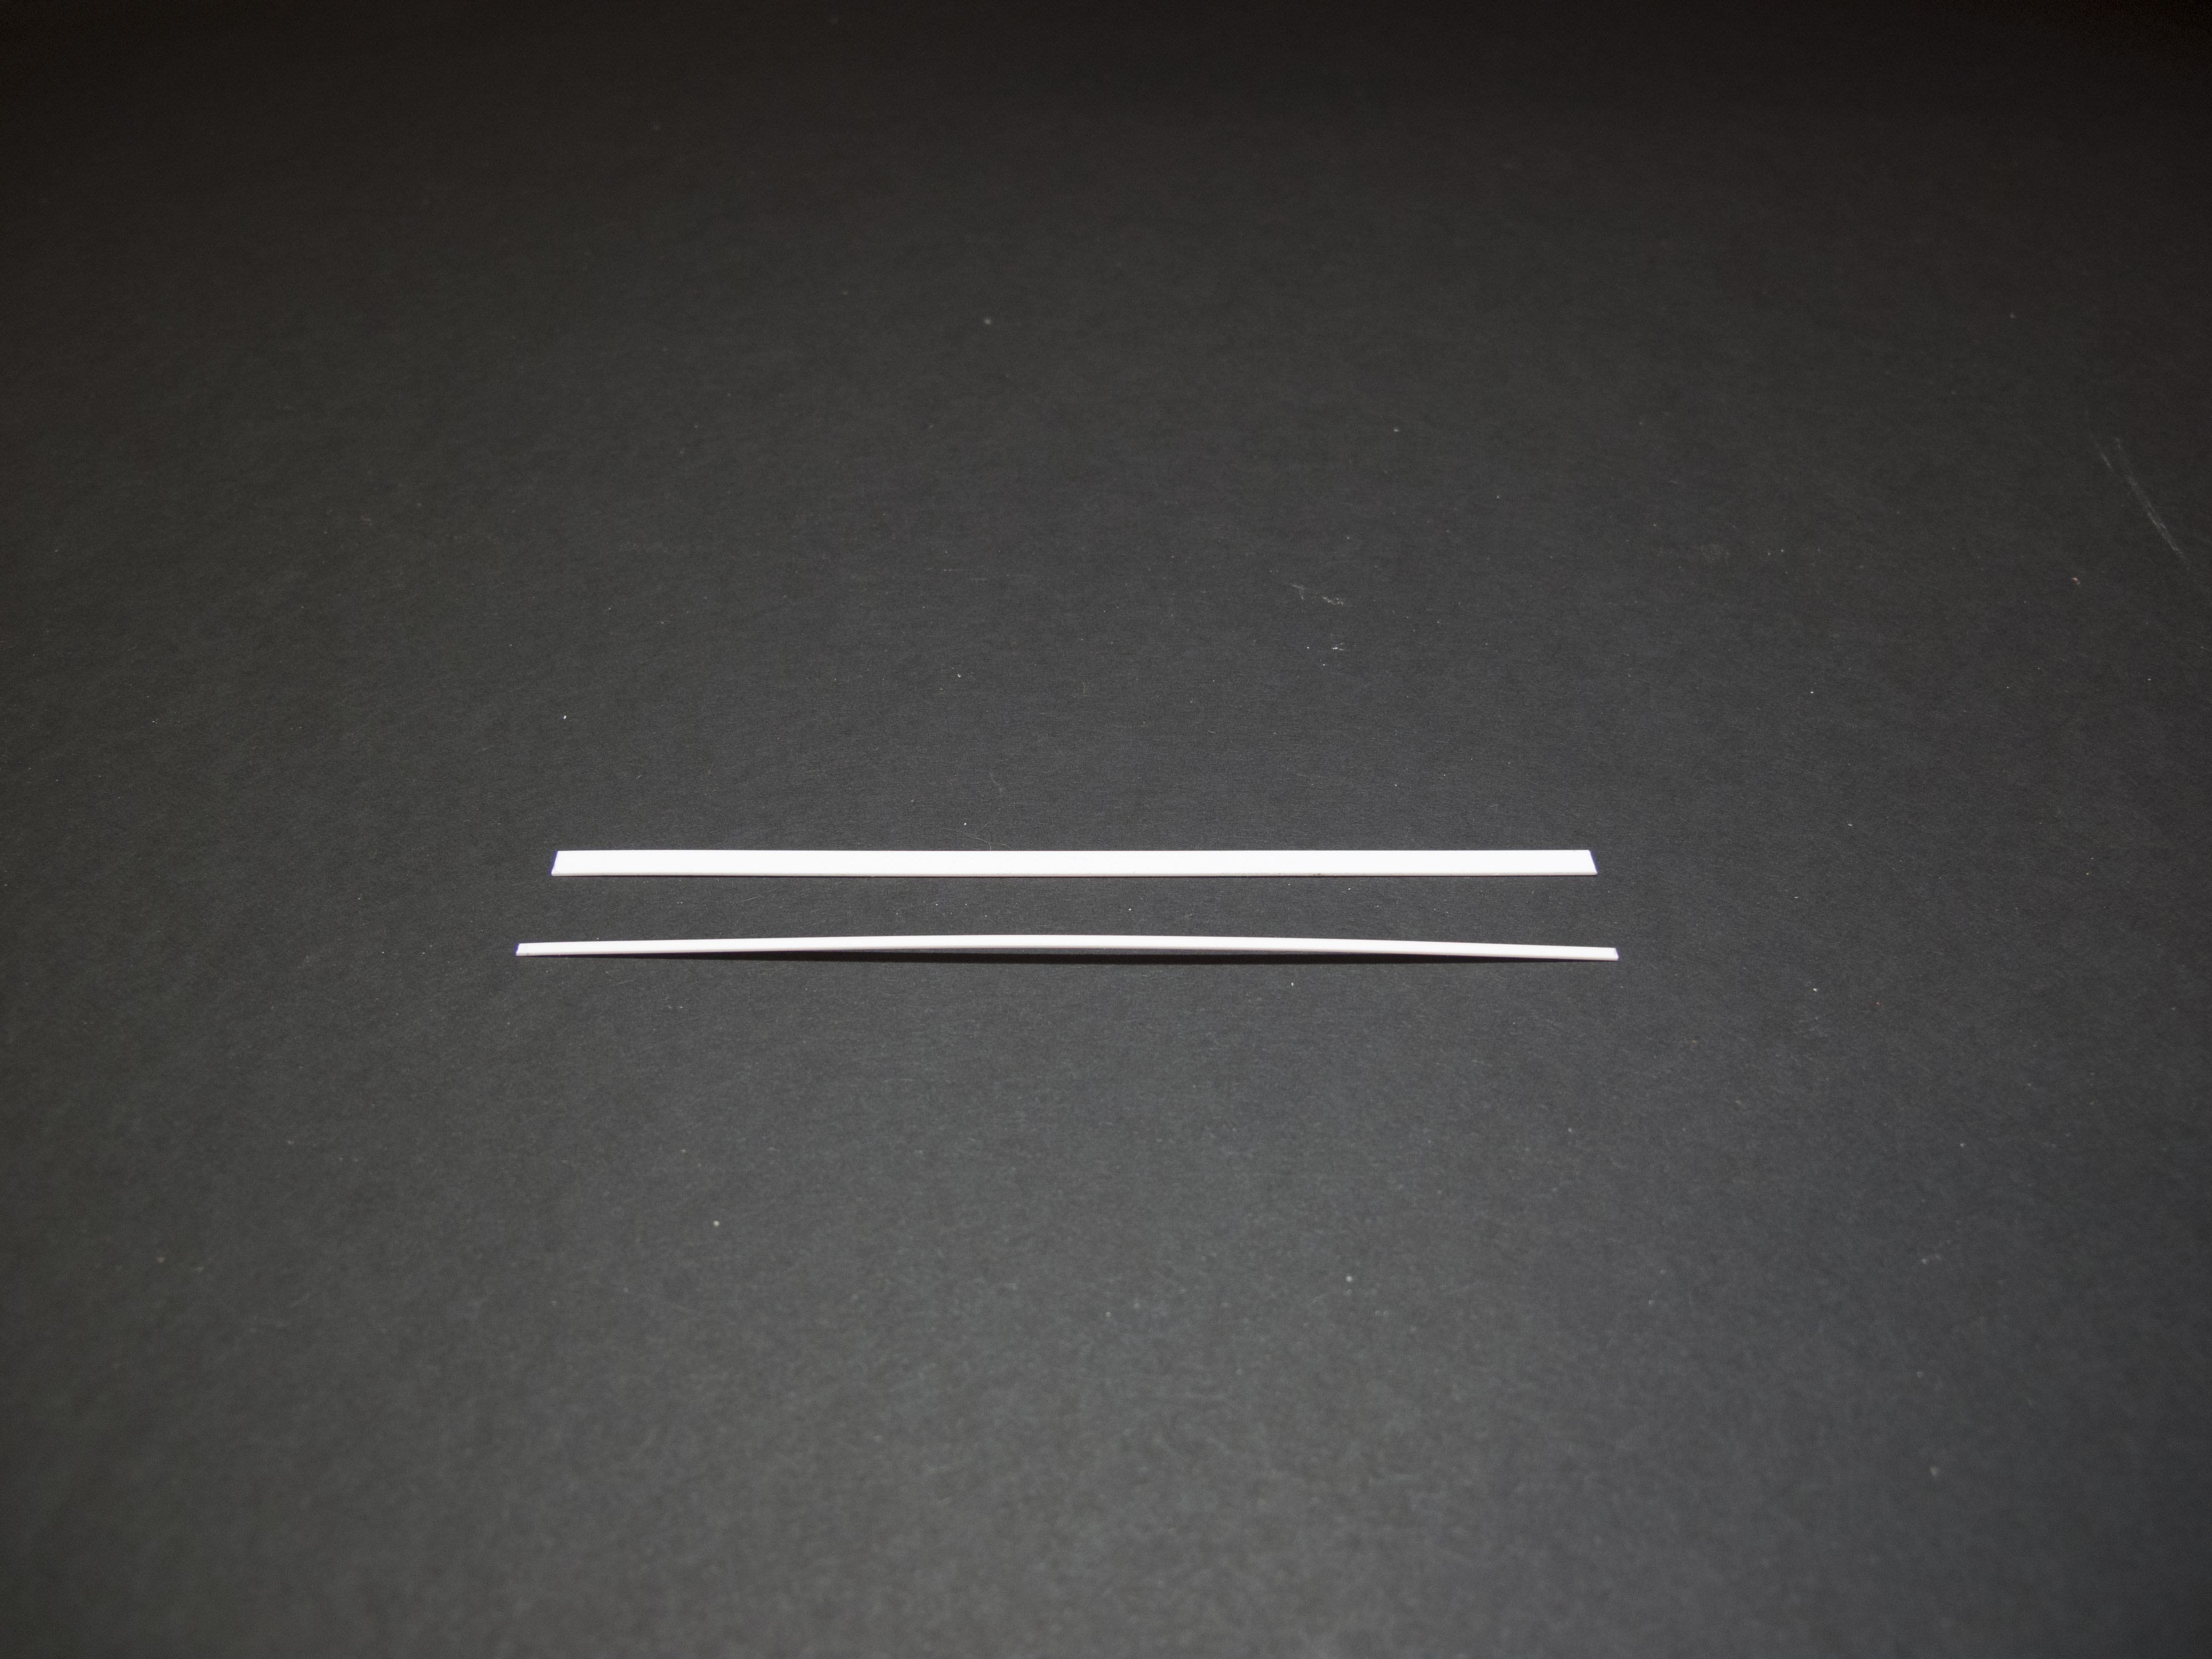
Anyway, to begin our modeling journey today, grab a thin piece of styrene strip, which can be purchased in most hobby stores and is fantastic for many of your hobbying needs. (People overseas might know it as plasticard.) It is an extremely versatile material and one of my most-used products.
One of the most common uses I have for it is to add riveted bands and details to a rounded surface, so I have an easy trick to help the styrene bend easily before we add rivets and glue it to our project. First, press the styrene strip between your thumb and index finger as shown.
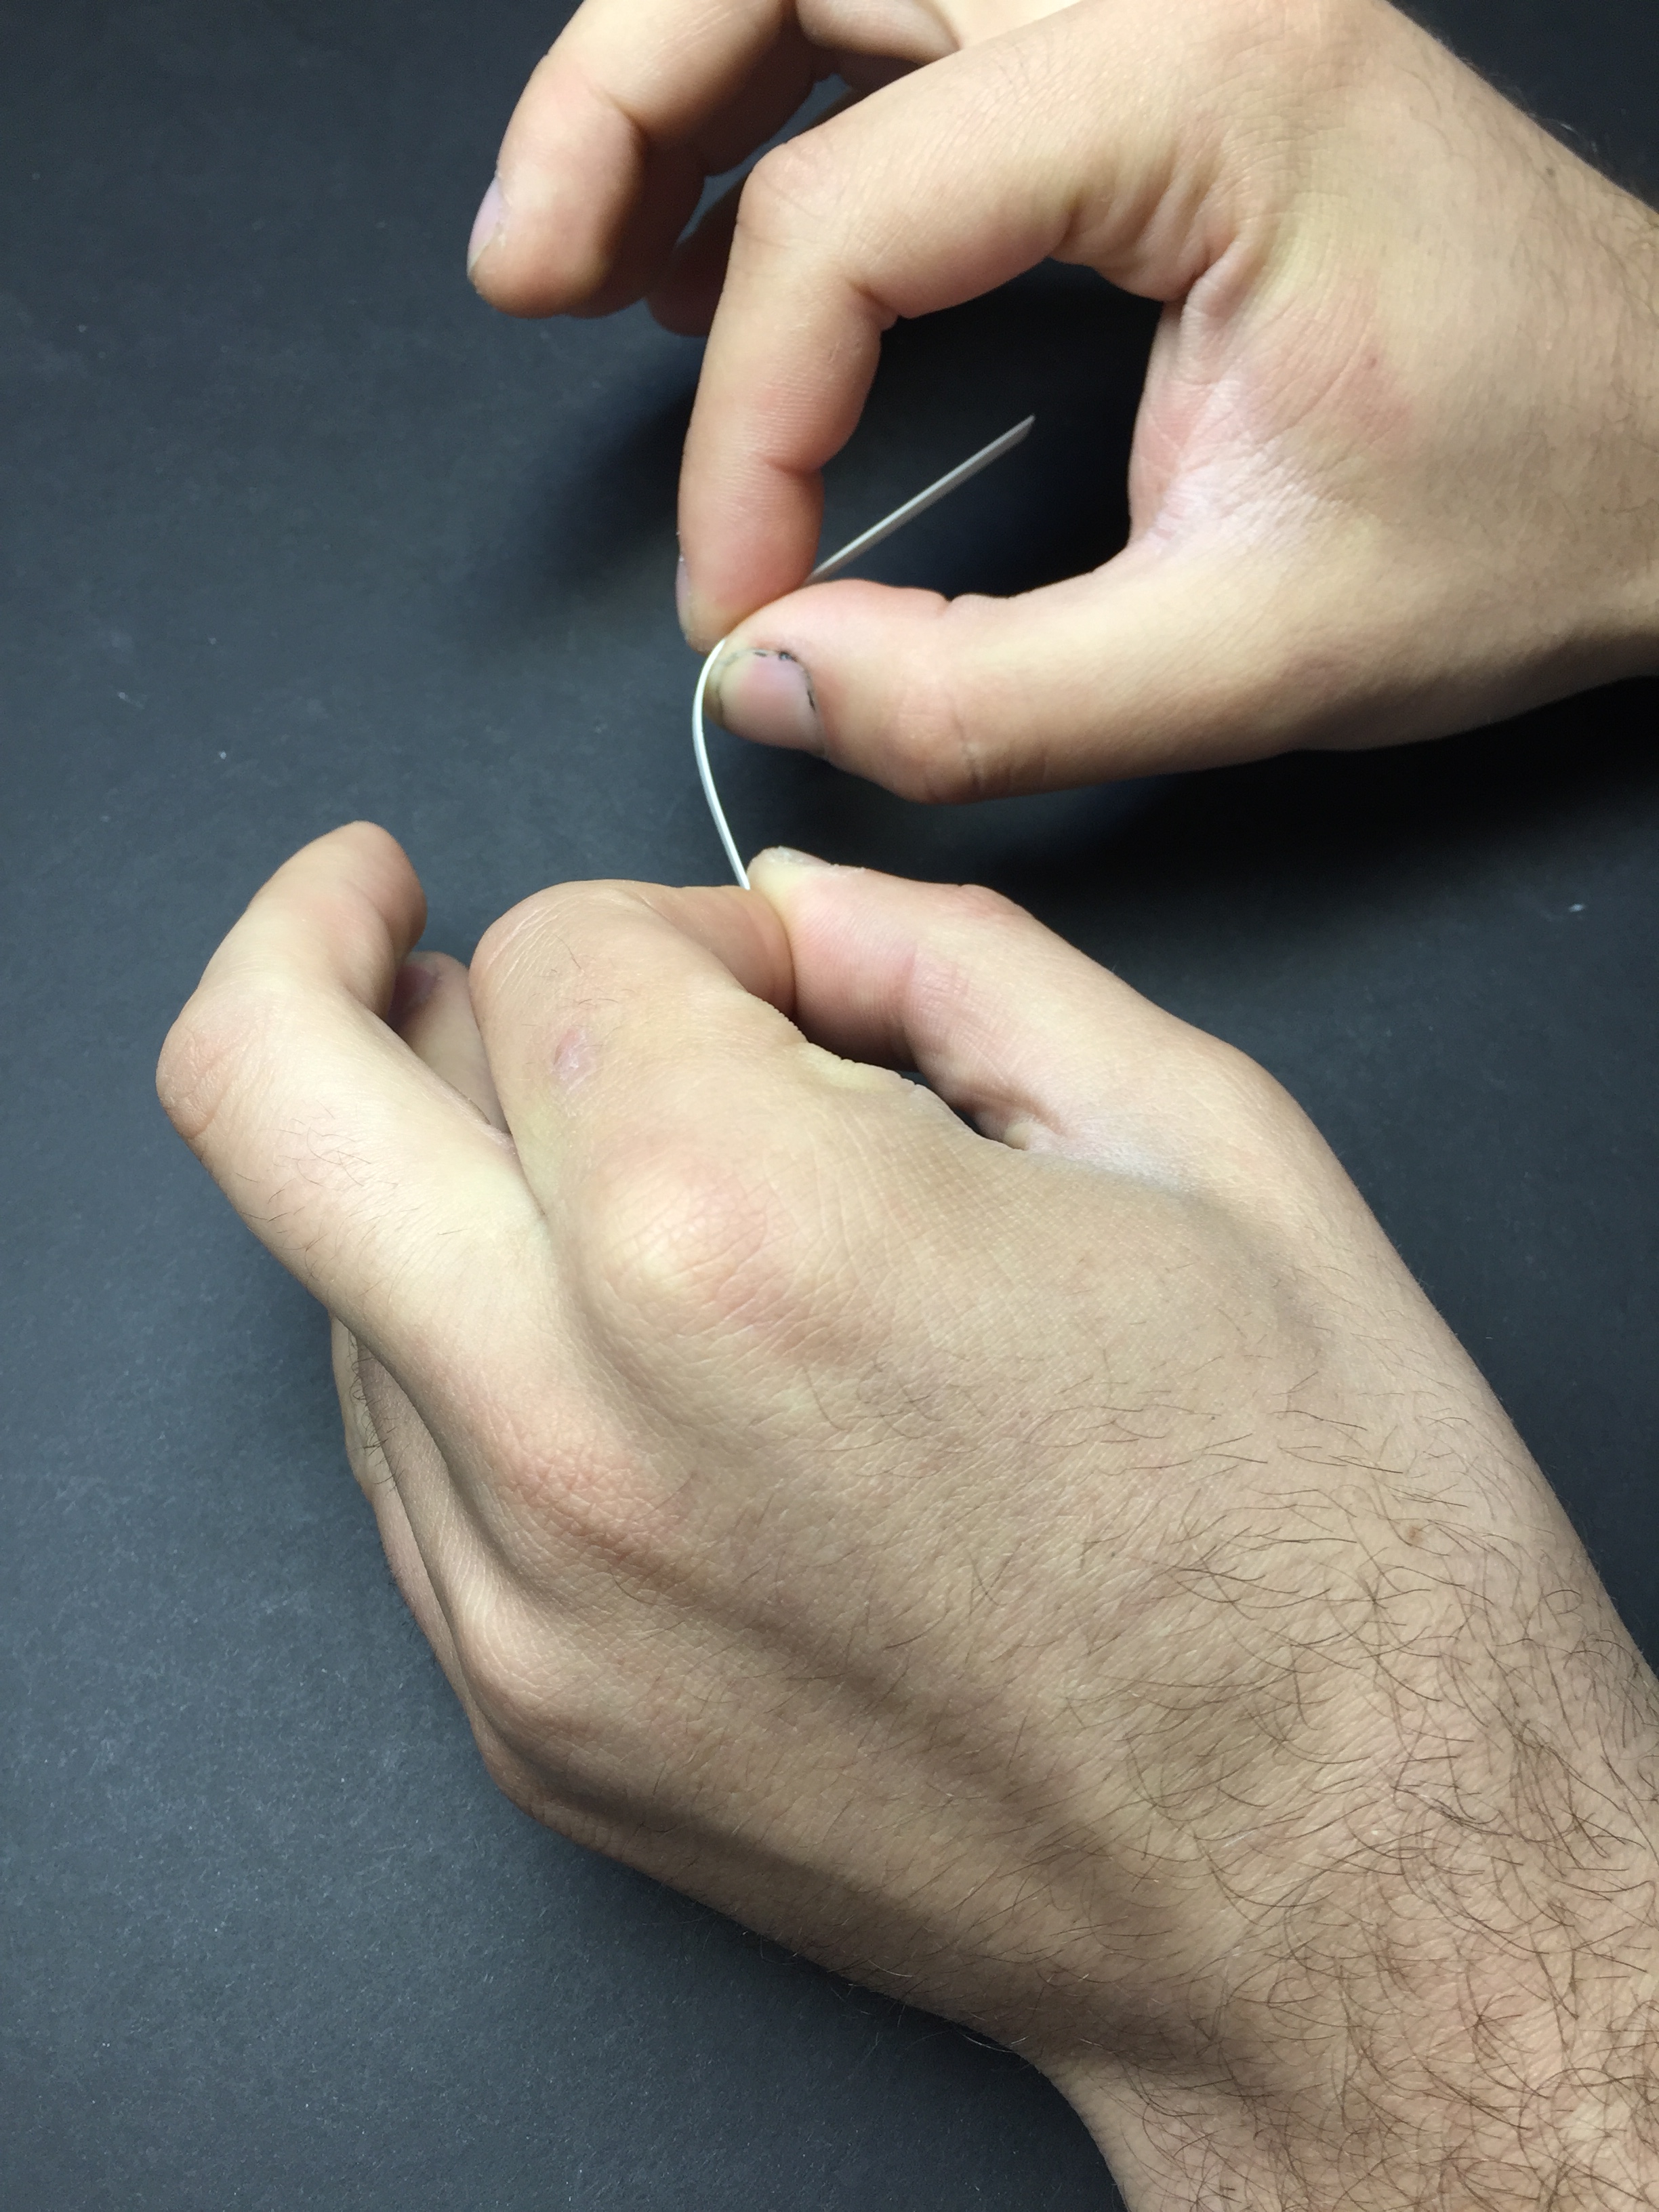
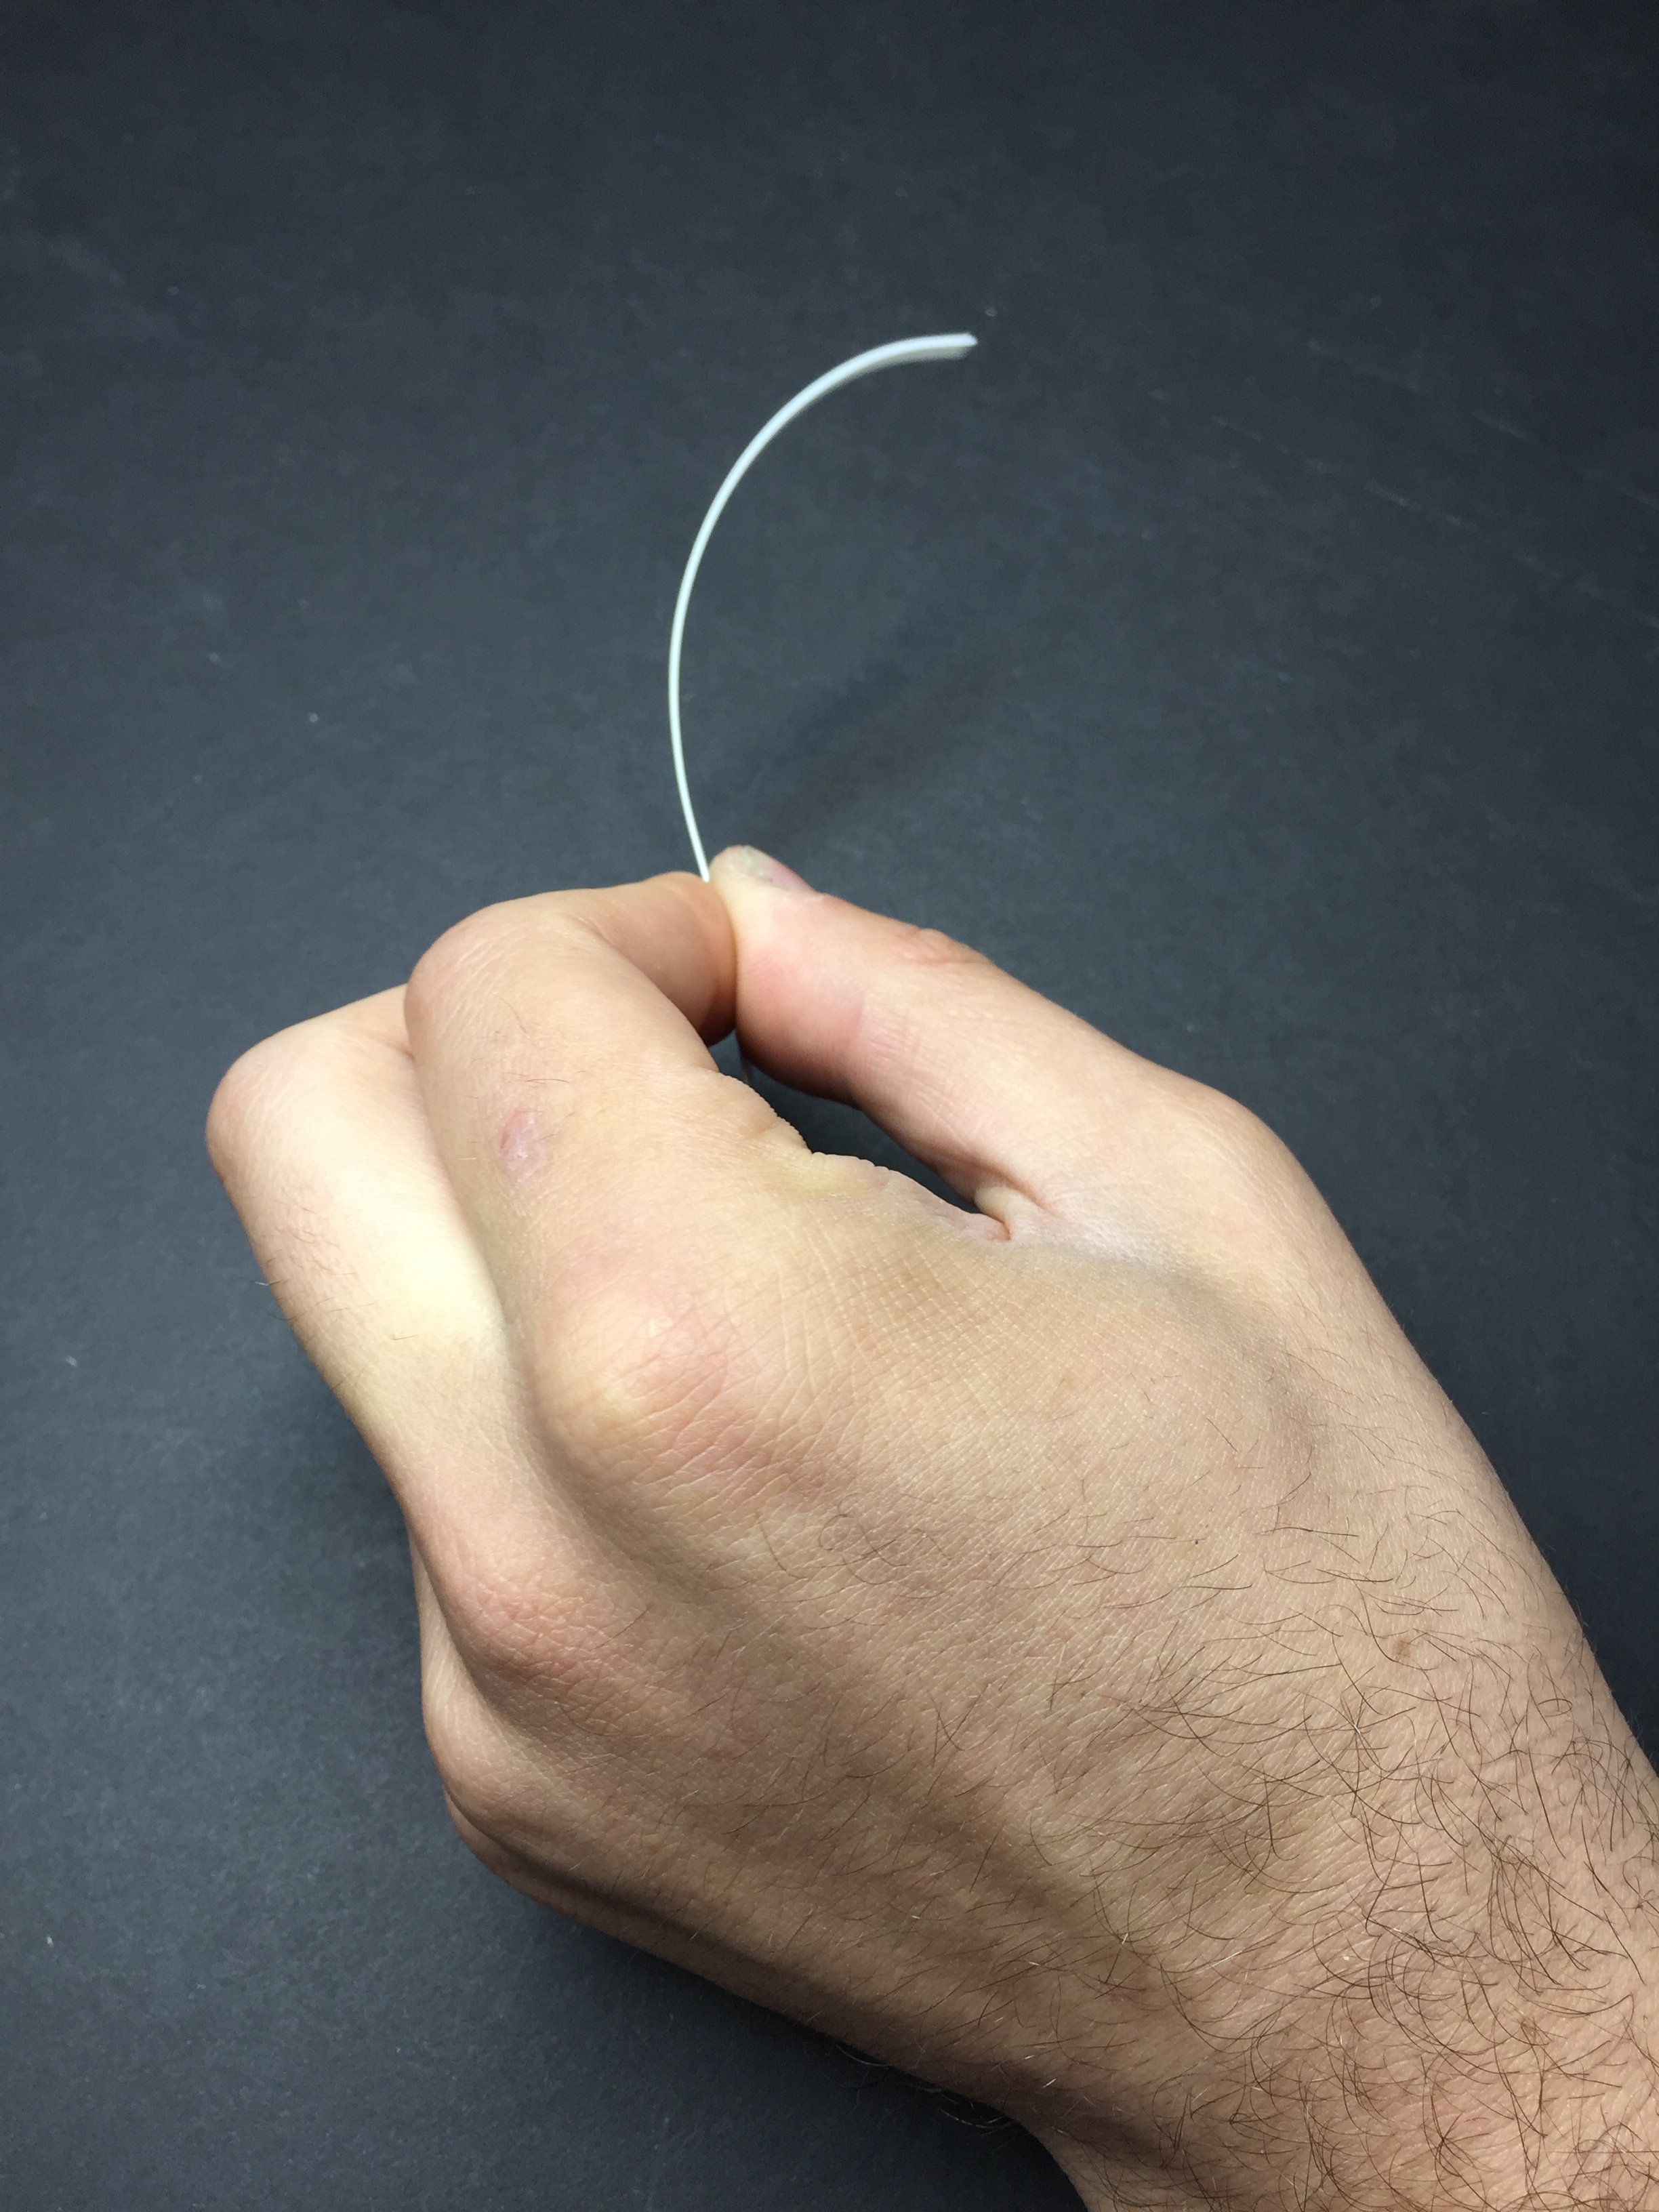
Using this grip, run your fingers down the length of the styrene. This essentially breaks the back of the styrene and allows it to bend more easily.
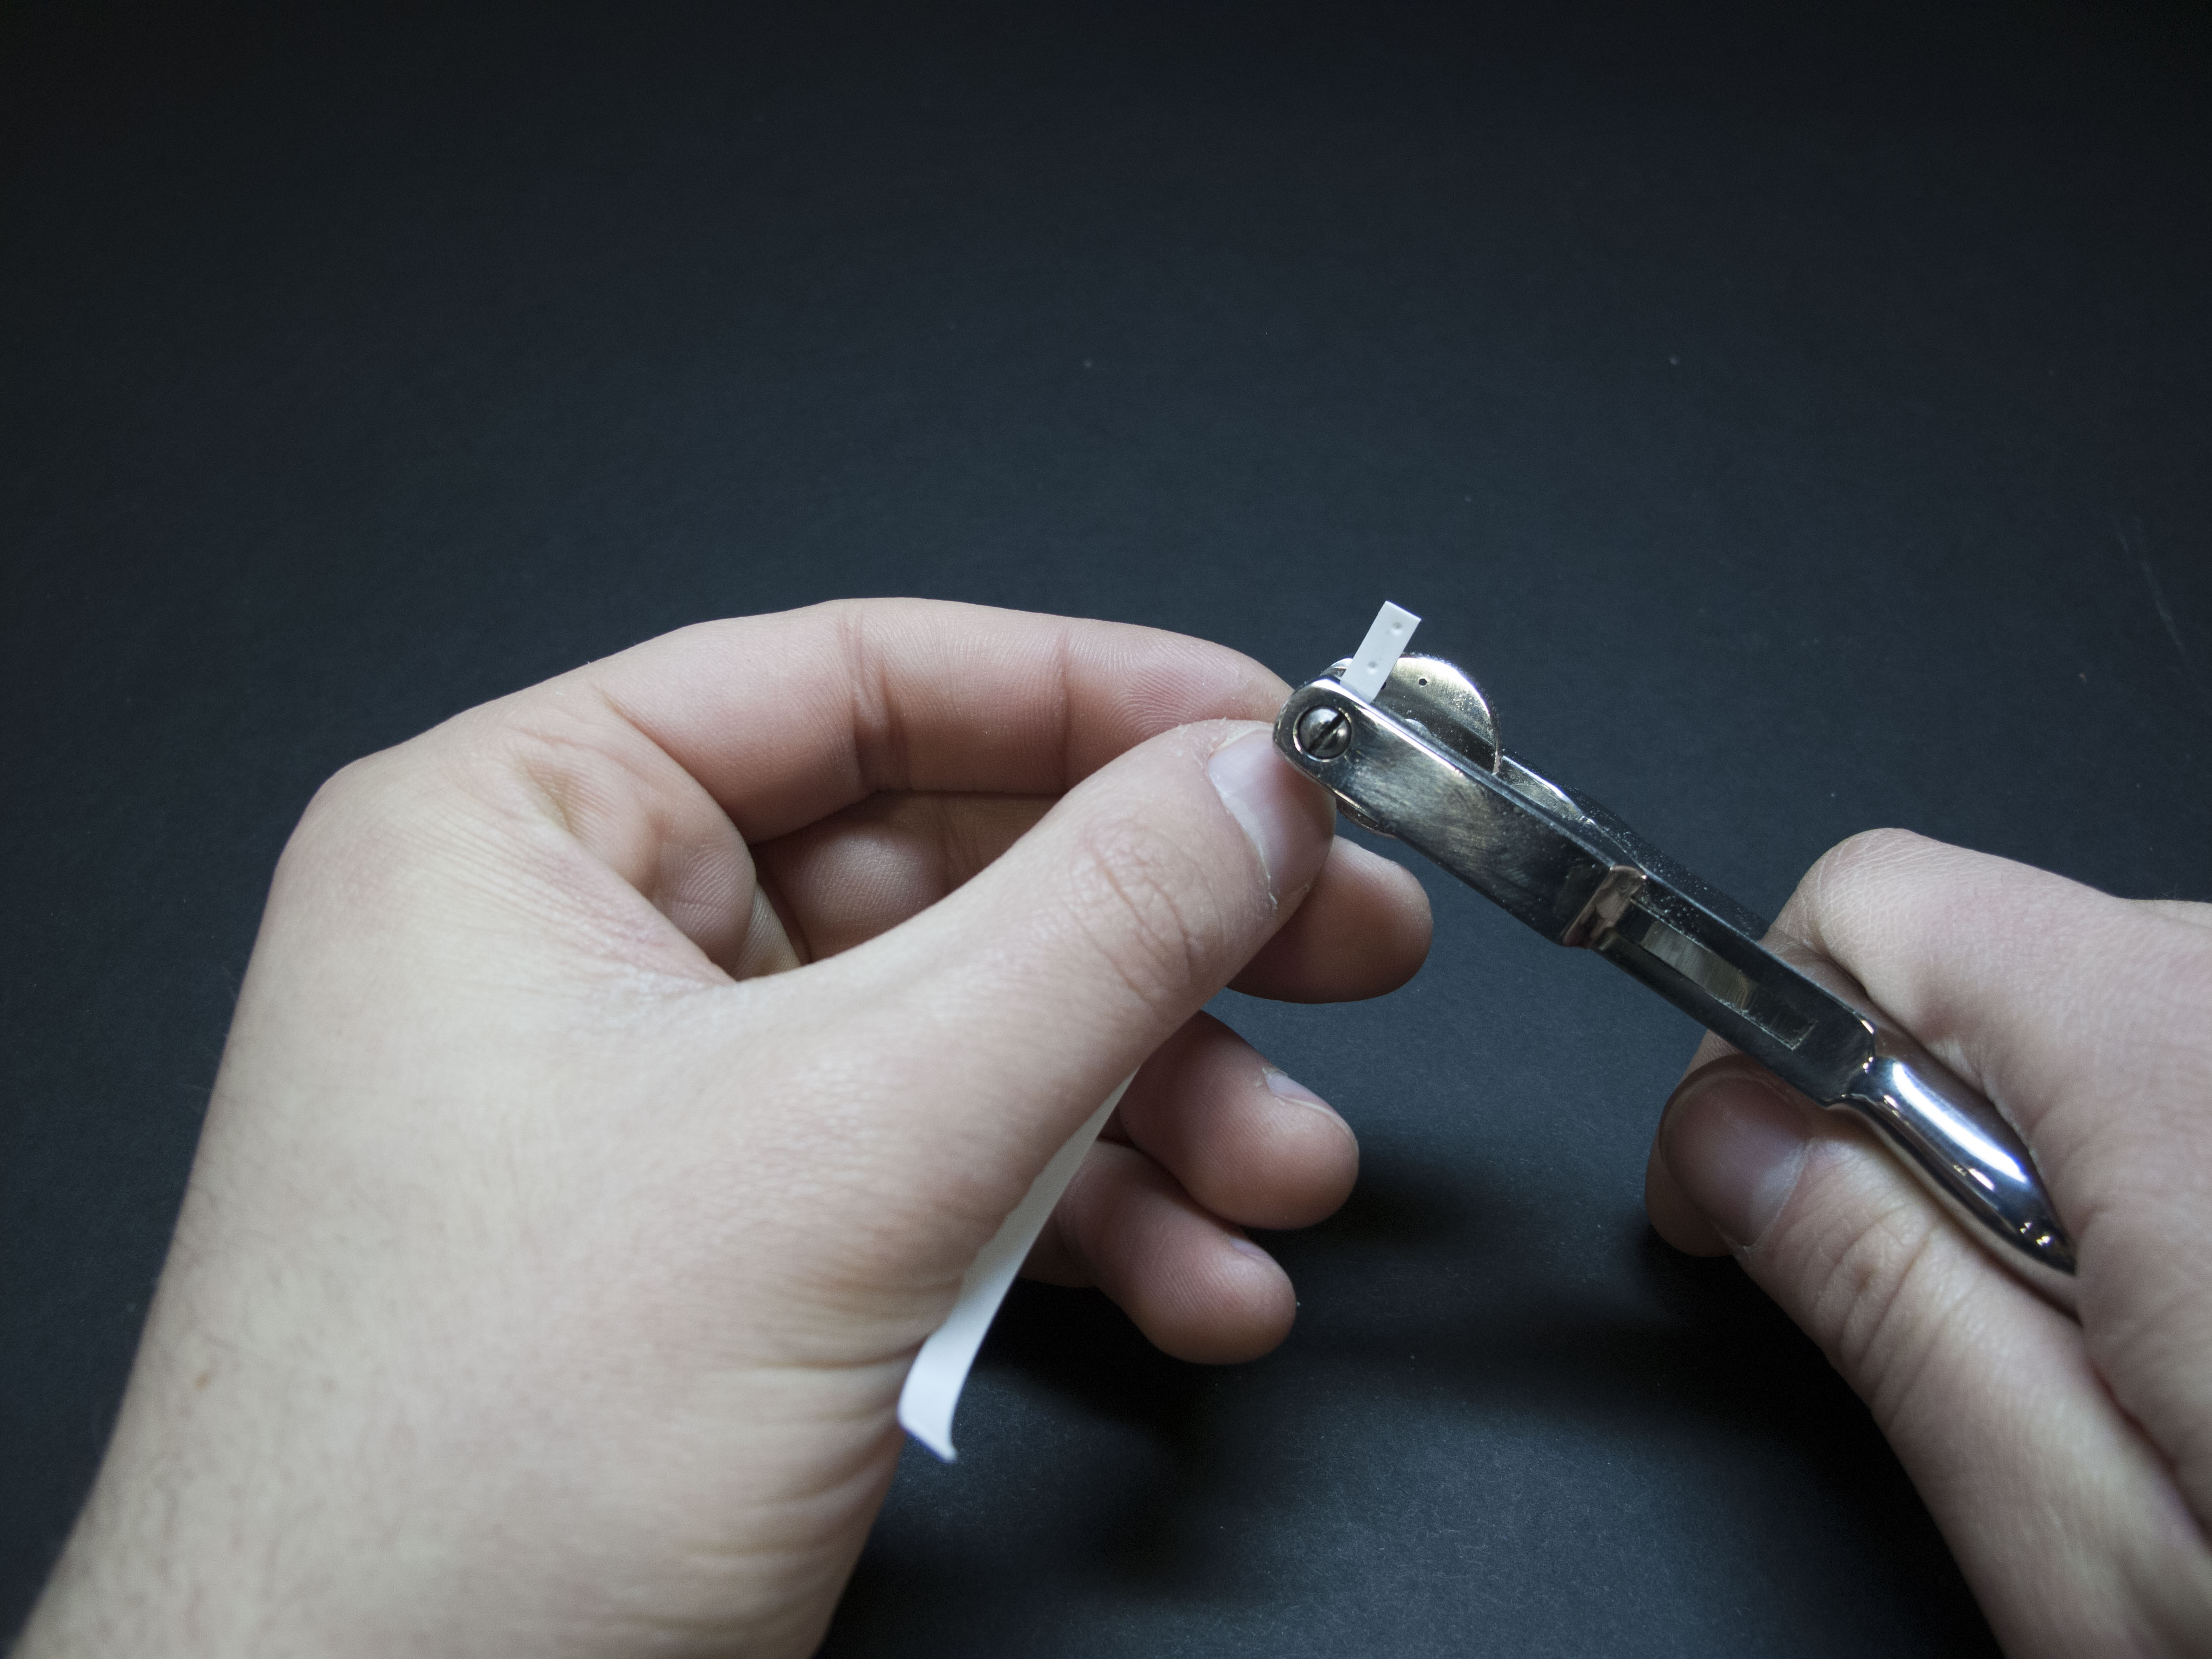
Now to add rivets. For this step, I use a tool called a rotary leather punch. It’s made for punching through leather (and who would have ever guessed that based on the name of the tool?), and it has a little wheel on it that allows you to change the size of the hole.
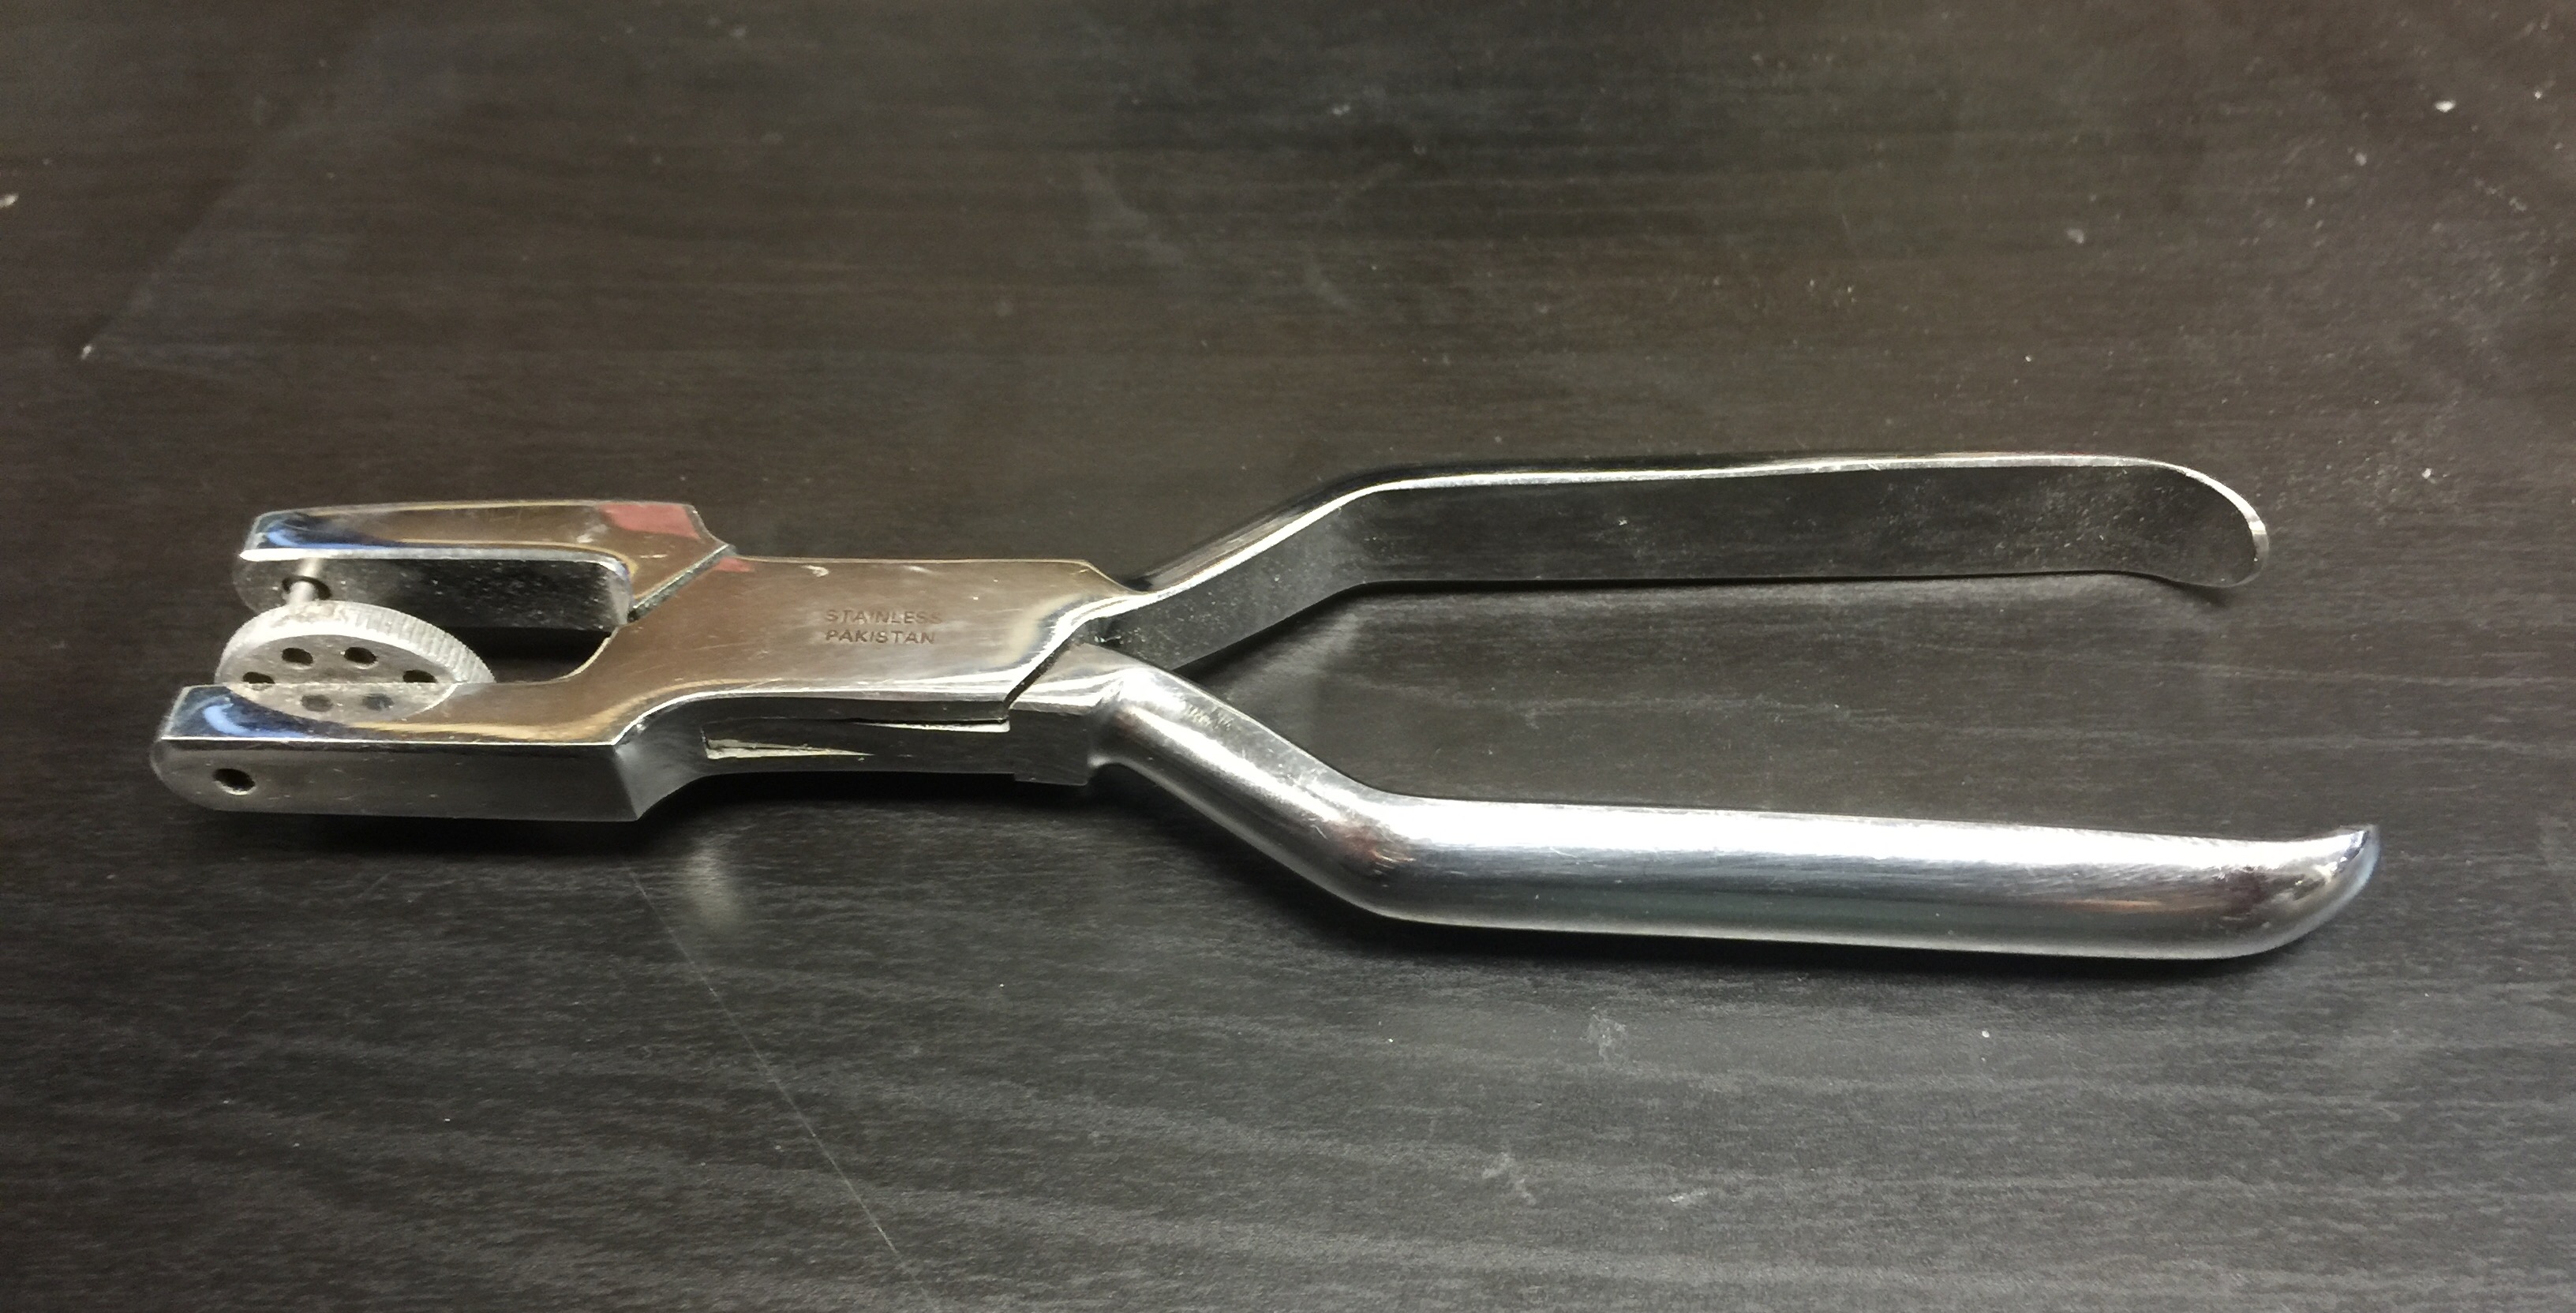
Gently press the punch into the back of the strip, taking care to not punch all the way through. This will emboss a rivet onto the other side of the strip. You can vary the size of those rivets by using the different sizes of holes on the wheel of your punch.
Finally, use your P3 Hobby Glue to wrap and glue the strip around whatever surface you would like to add detail to. And there you have it—awesome riveted details!
BUT WAIT, THERE’S MORE!
You might be asking yourself, “Hey, Danny, that’s a pretty cool Ping-Pong ball covered in riveted strips! What’s it for?”
Well, my friend, it’s from an awesome article on making alchemical terrain for your Crucible Guard army that you can find in No Quarter Prime issue 6! Be sure to check it out!