
Edo Habidomes – Part 1: Sculpting
This project is part of the new Edo table for Counterblast demos at AdeptiCon this year. I specifically wanted some buildings that I thought the Edo may create while waiting for a newly created spawning pool to expand. I imagine the Edo would use their telekinetic abilities to raise egg-shaped blisters from the ground and shape these habitable igloo-forms from some kind of “secreted resin”.
Here are the steps I used to form the new Habidomes.
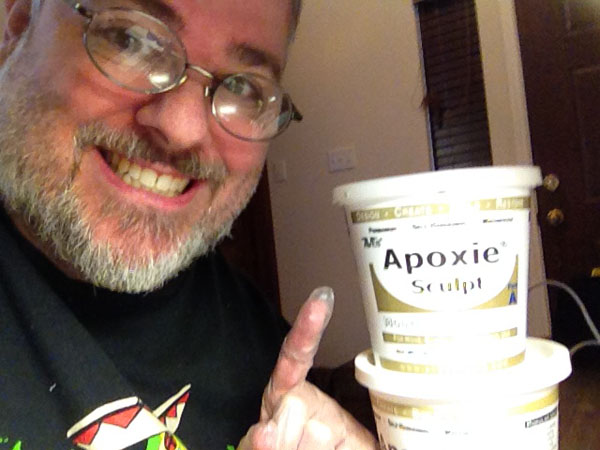
The material of choice for this project is Aves Apoxie Sculpt for both strength and durability. Always wear gloves when working with Apoxie.

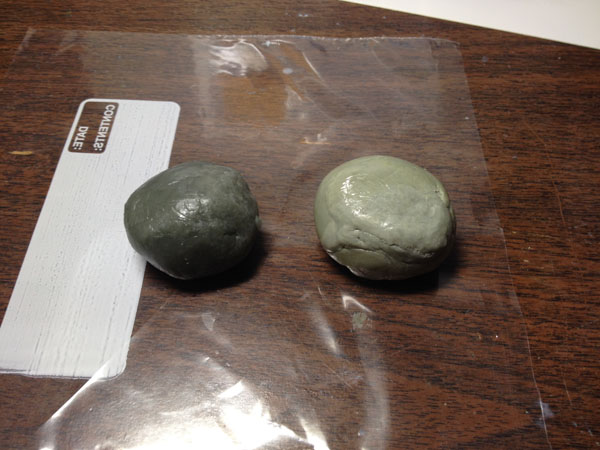
I mixed equal parts with enough material to make the 4 domes I started with.
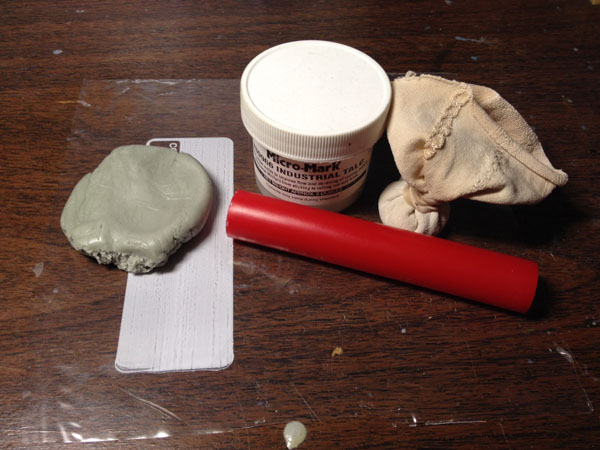
I split the mixed Apoxie in half for the first dome. To roll out the Apoxie, I cut a zippy plastic sandwich bag in half and used a liberal amount of talc. To make the talc pouch, I cut the toe end from a pair of nylon stockings, dumped in the talc, and cinched it up with a rubber band.

Talc both sides before rolling it out.
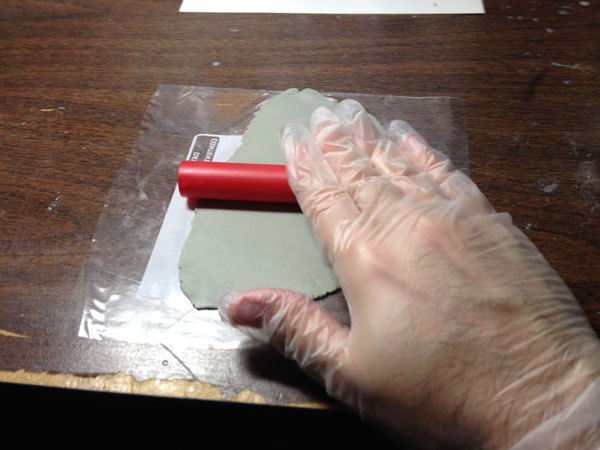
I used a dedicated polyclay roller to flatten out the Apoxie. But, a length of PVC plumbing pipe will work just as well.
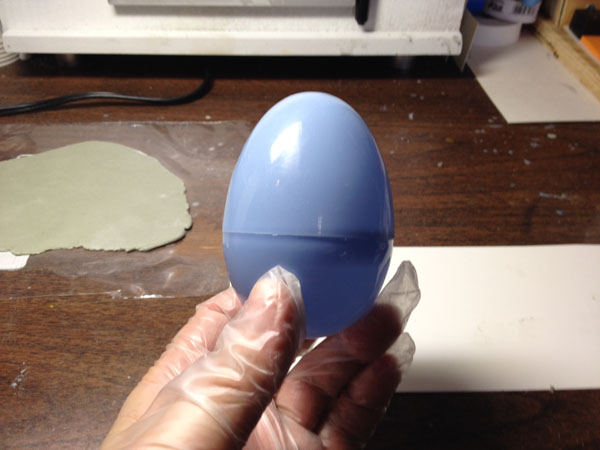
This is the shape I picked to form the domes over. These are large plastic Easter Eggs I got from the craft store. If it is liberally covered with talc, the Apoxie will pop right off after it’s cured. The next ones I make may be formed over the lid dome of a Starbucks Frappuchino. Sculptor fuel.
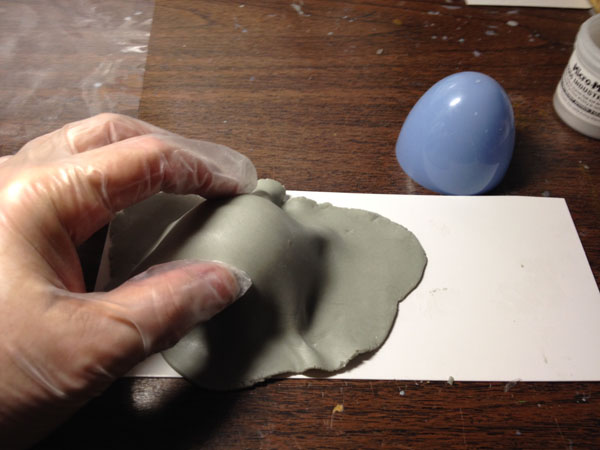
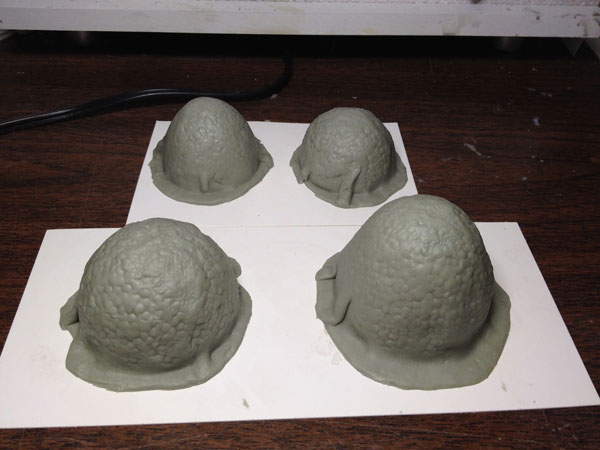
Here I draped the flattened Apoxie over the the dome. The intent was to keep the shape of the creases as part of the design instead of trying to smooth them out.
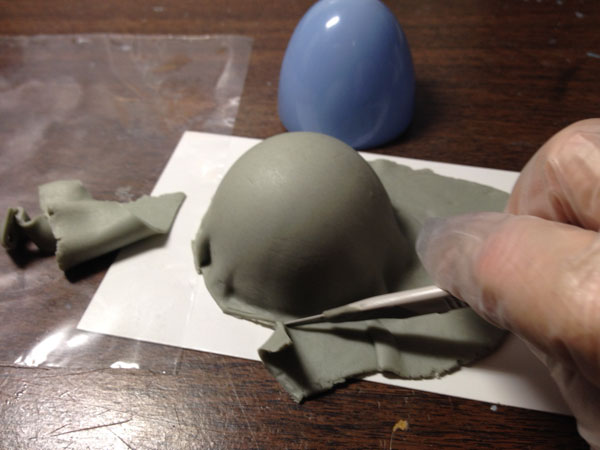
I pressed the edge to a piece of cardstock, in this case a strip of comic backing board. That will secure the dome, assure it has a flat bottom, and allow me to peel it free after it cures.
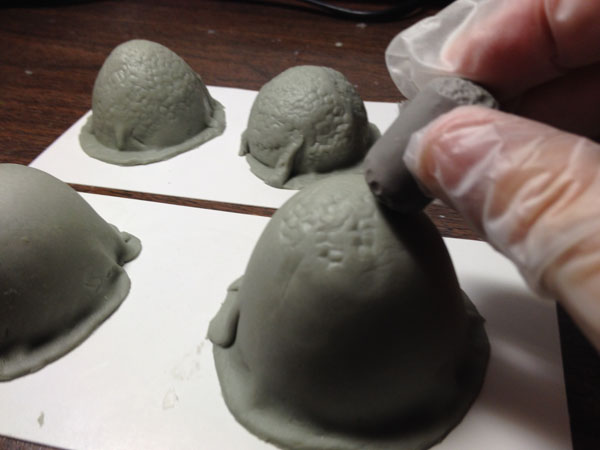
After trimming the base around the dome, I had enough putty mixed up to make two smaller domes as well. I applied a texture stamp I had made previously from Super Sculpey. You could also use a sponge, brillo pad, or orange peel, for a variety of textures. It was at this point I should have cut the windows and doors into it. Live an learn.
Once everything is textured the Habidomes go under a lamp to warm up and accelerate the curing time of the Apoxie. It should NOT be baked in the oven.
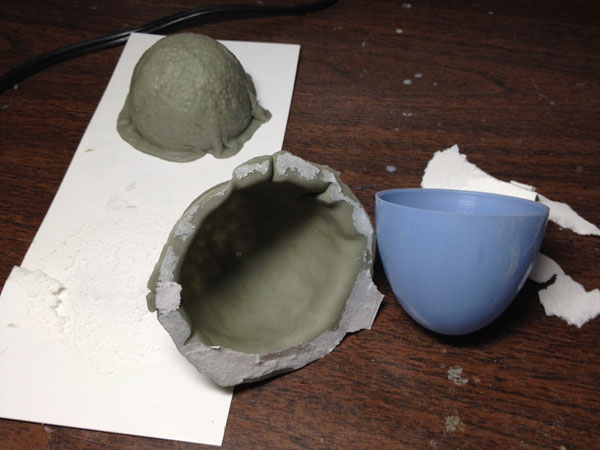
Once the Habidomes have fully cured, the card stock is peeled from the bottom.
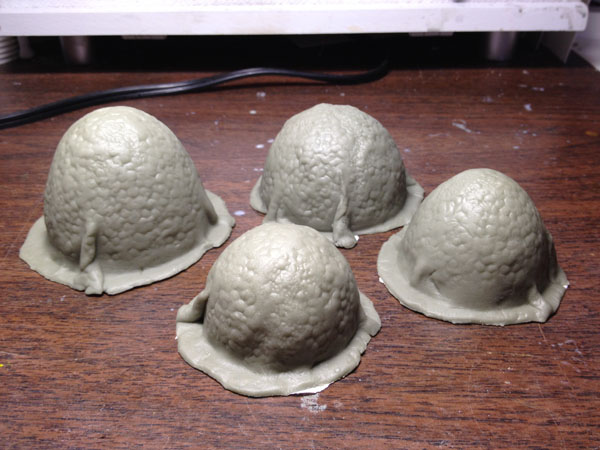
A bit of sandpaper can clean up the cut areas around the base and the bottom if there is still any cardstock stuck there. A dust mask is essential when sanding Apoxie and vacuum up the debris immediately.
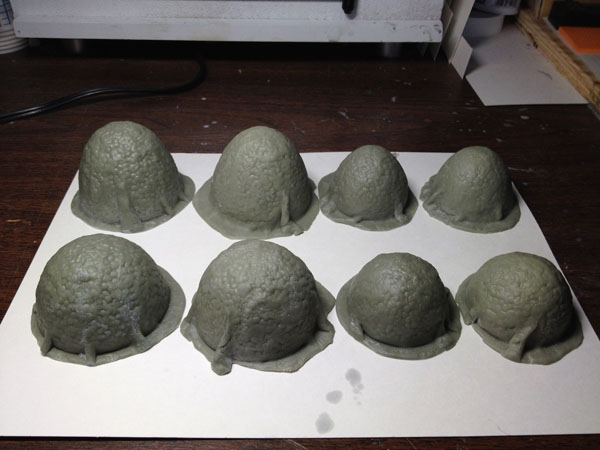
I made a second set the same way to have enough for a small colony village.

Since I failed to think of cutting the openings before the Apoxie cured, I drilled the openings with a grinding bit in my Dremel motor tool. This was done in the garage and with a dust mask, because it made a horrendous mess. My shop vac took care of that in short order. The bases for the domes were textured with a bit of PVA glue and sand.
Up next – Edo Habidomes – Part 2: Painting.

![]()